
You know how on Facebook these people post a recipe with the disclaimer "hundreds are asking me for this recipe again, so here it is and share it on your wall so you don't lose it." Well, I'm under no such delusion of grandeur. This one's for Melanie and Carol!


Here's the short and sweet of it. (I can't find the original recipe source, but it has been slightly modified).
6 Cups warm Water
1.5 TBSP Yeast
1.5 TBSP Salt
1.5 TBSP Sugar
Then, add in 13 cups of bread flour. Stir until just combined, leave loosely covered in a warm place for two hours or until the dough doubles.
Pull off as much as you like, shape into loaves (add extra flour if needed). Place in or on a pan (lined with parchment is best!) and let rise for forty minutes. Store extra dough in the fridge covered with a little bit of gap in your lid for air.
Bake at 485 for 20-30 minutes
The dough keeps for around a week. Anytime you want to bake, remove from the bowl, shape, let rise for 40 minutes and bake 20-30 minutes at 485.
Boom.
It's so easy!
I started doing this when money was a little tight and spending heaps of "dough" on bread was KILLING me. This method is so economical and really stretches our grocery budget. I can get a massive bag of flour for around 8.00 and it lasts many, many batches.


I buy my flour and sea salt and yeast at Sam's. The flour is stored in its own bag, wrapped in very fancy plastic. : ) I want to find a good flour bin, but I'm not shelling out money for a full price one, yet.
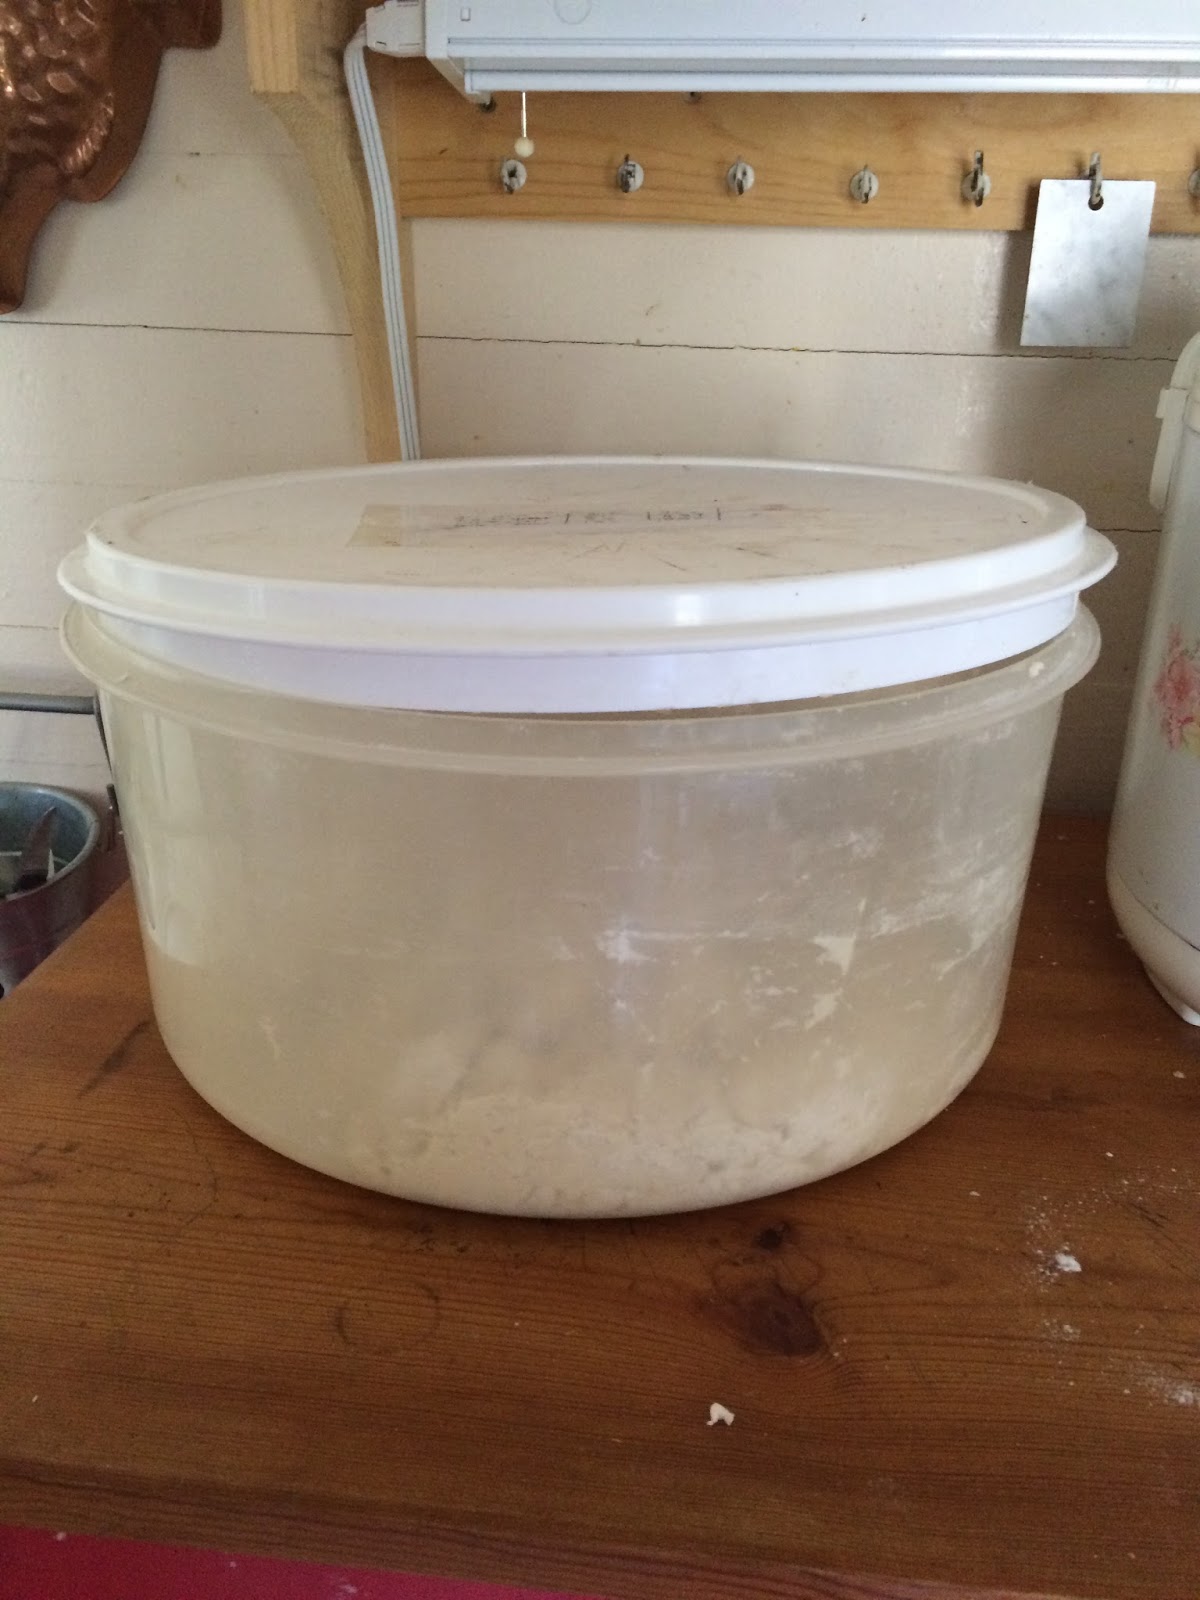
The dough is stored in this FANTASTIC, vintage Tupperware cake plate I bought ages ago. It's huge and wonderful. Because it is always is in the fridge, I don't clean it thoroughly between uses and I am convinced the bread tastes better because of it. I scrape it down with my bench scraper and it dissolves into the warm water of the new batch.
To keep it simple, I taped a card with proportions of ingredients, so that when I bake, I don't have to find the recipe card. Mine is kind of janky and sad, so I am providing a printable card for anyone who wants to have a prettier label.

You can use the dough for loaves and boules and baguette shapes and pizza. I think the loaves make a heavenly tomato sandwich. And the wetter the dough, the better. Just flour the outside enough that you can shape it.

It really makes a good pizza dough--knead just a little with flour to not be sticky and then roll it out on a mixture of cornmeal and flour. Sometimes I spread a little olive oil on the crust.
Lining the pans with parchment paper (bulk purchase from Sam's) is a huge help--nothing sticks and I don't have to scrub pans.
We don't eat the bread every day. But I usually start the week out by throwing a batch together on Monday morning and we just have it as we need it all week long. It's so handy to be able to throw a loaf in the oven when I can't figure out/am not prepared for lunch.


Final things. I think every kitchen should have a "bench scraper". It's so helpful for scraping down the sides of the bowl, cleaning a wooden cutting board and moving chopped things. Its one of my my most beloved tools.

The "lastest" thing is that if you had ANY doubt this recipe isn't perfectly suited for Type B folks, let this spoon and cup reassure you. I lost all my measuring spoons in a move, so for the last two years I've been using that soup spoon for my tablespoon measure and I often use that cup for my cup measure . . . and the bread STILL turns out. Every time. Eventually I'll break down and get a new set, but I take a bit of perverse pleasure in not using real measuring spoons.

Happy baking! Let me know if you try this method!


No comments:
Post a Comment